Setting up your wallet
Link your wallet to start staking.
Becoming a validator
Set up to stake your tokens.
Staking tokens
Lock your tokens to earn rewards.
Withdrawing profit
Take out your earned rewards.
Unstaking tokens
Unlock your staked tokens.
Waiting for withdraw
Wait before you can take your tokens.
Withdrawing tokens
Get your tokens back to your wallet.
Restaking tokens
Note: Make sure your KYC is done. KYC means proving who you are. If not, go to this website to do KYC.
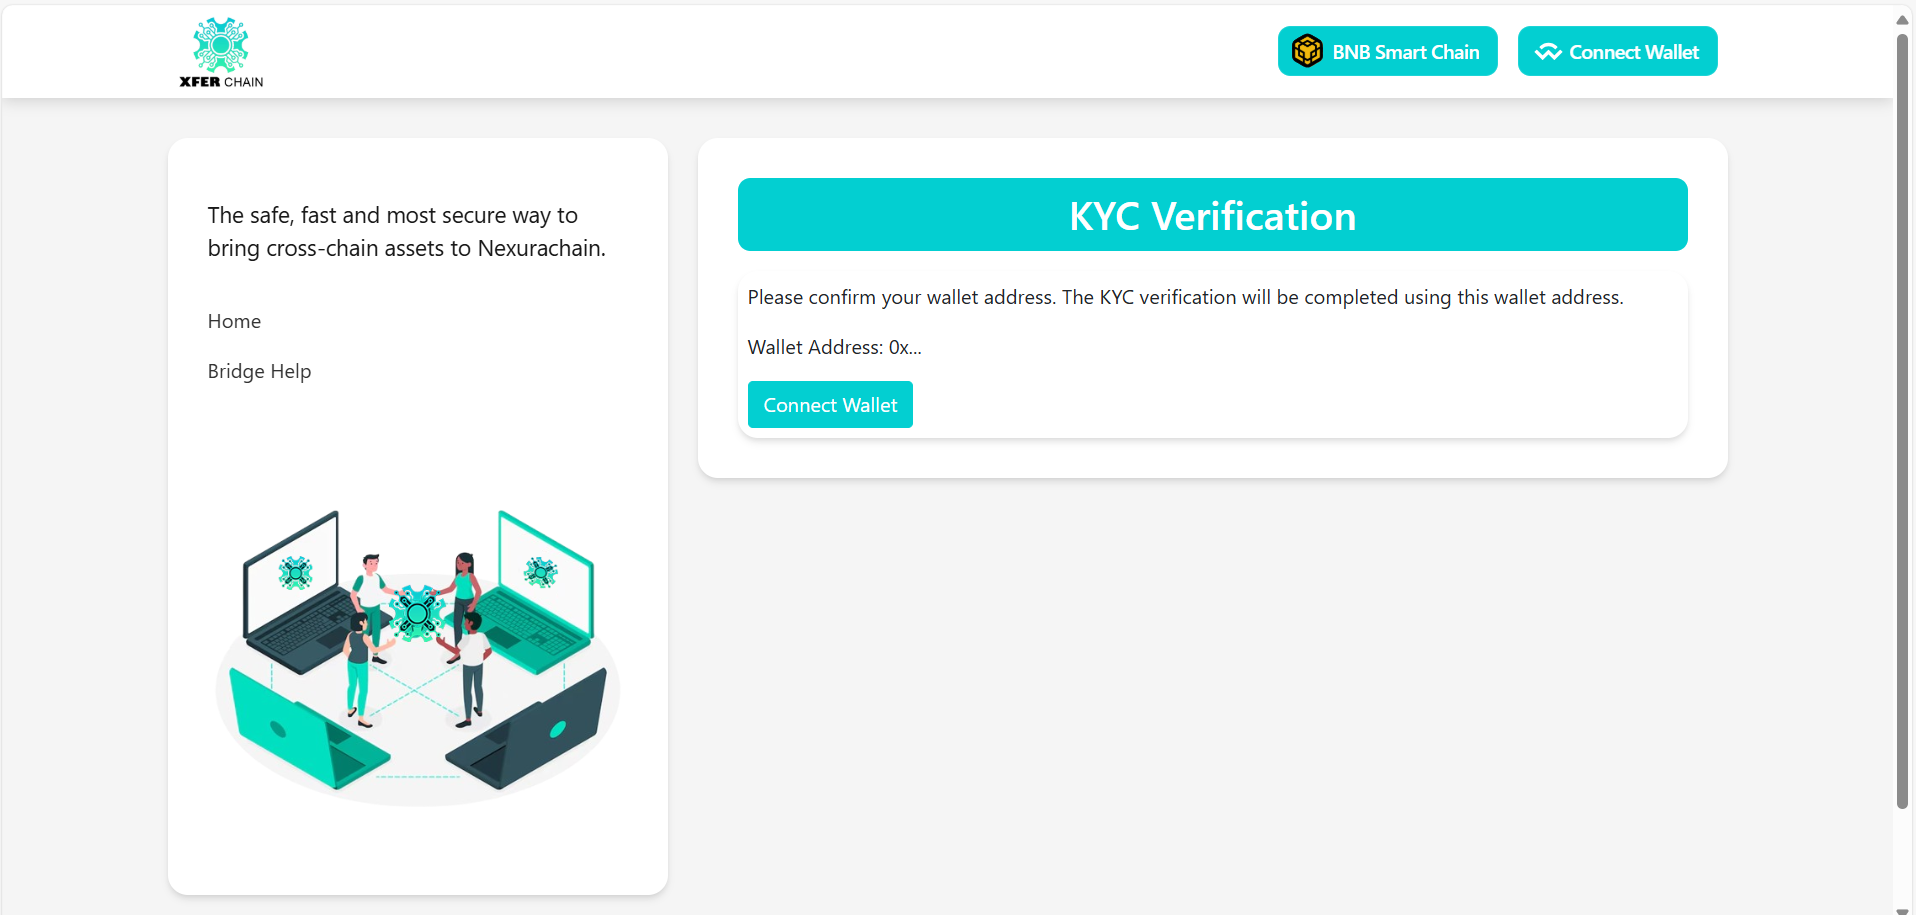
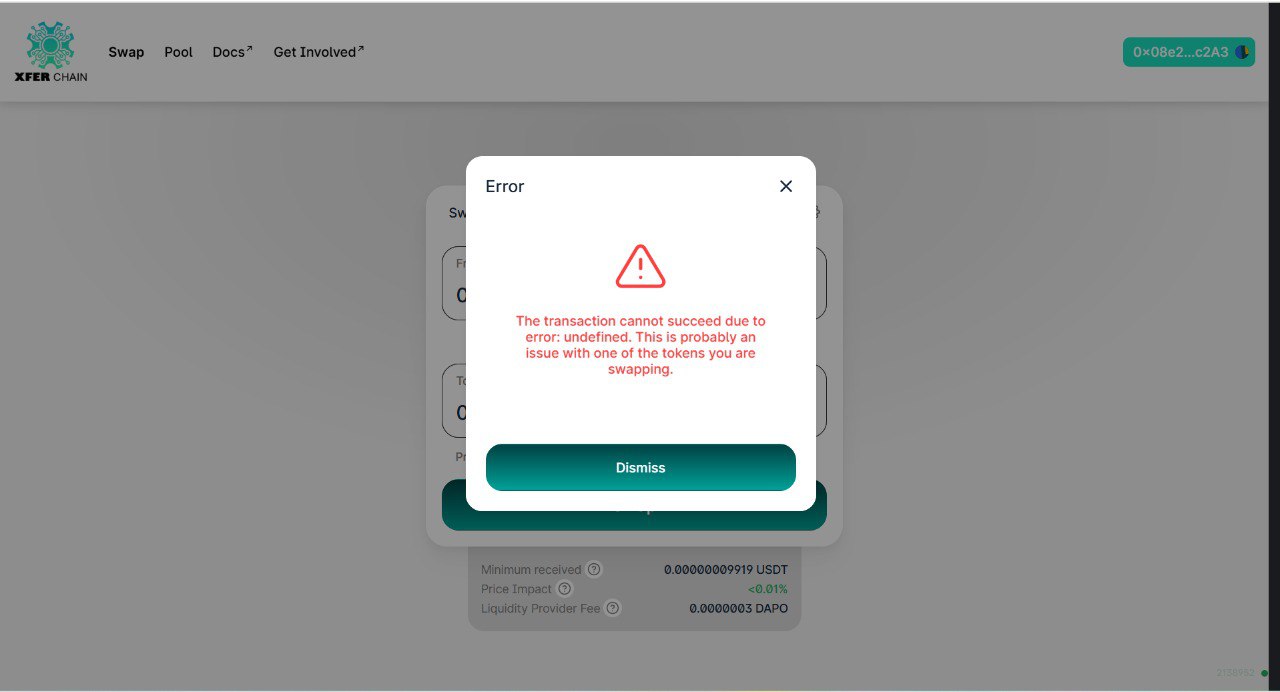
Without KYC, you can’t stake tokens and might see errors like this:
STEP 1: Add Xferchain to Your Wallet (MetaMask)
1. Make sure the MetaMask extension is already installed and set up in your browser.
2. Go to this website.
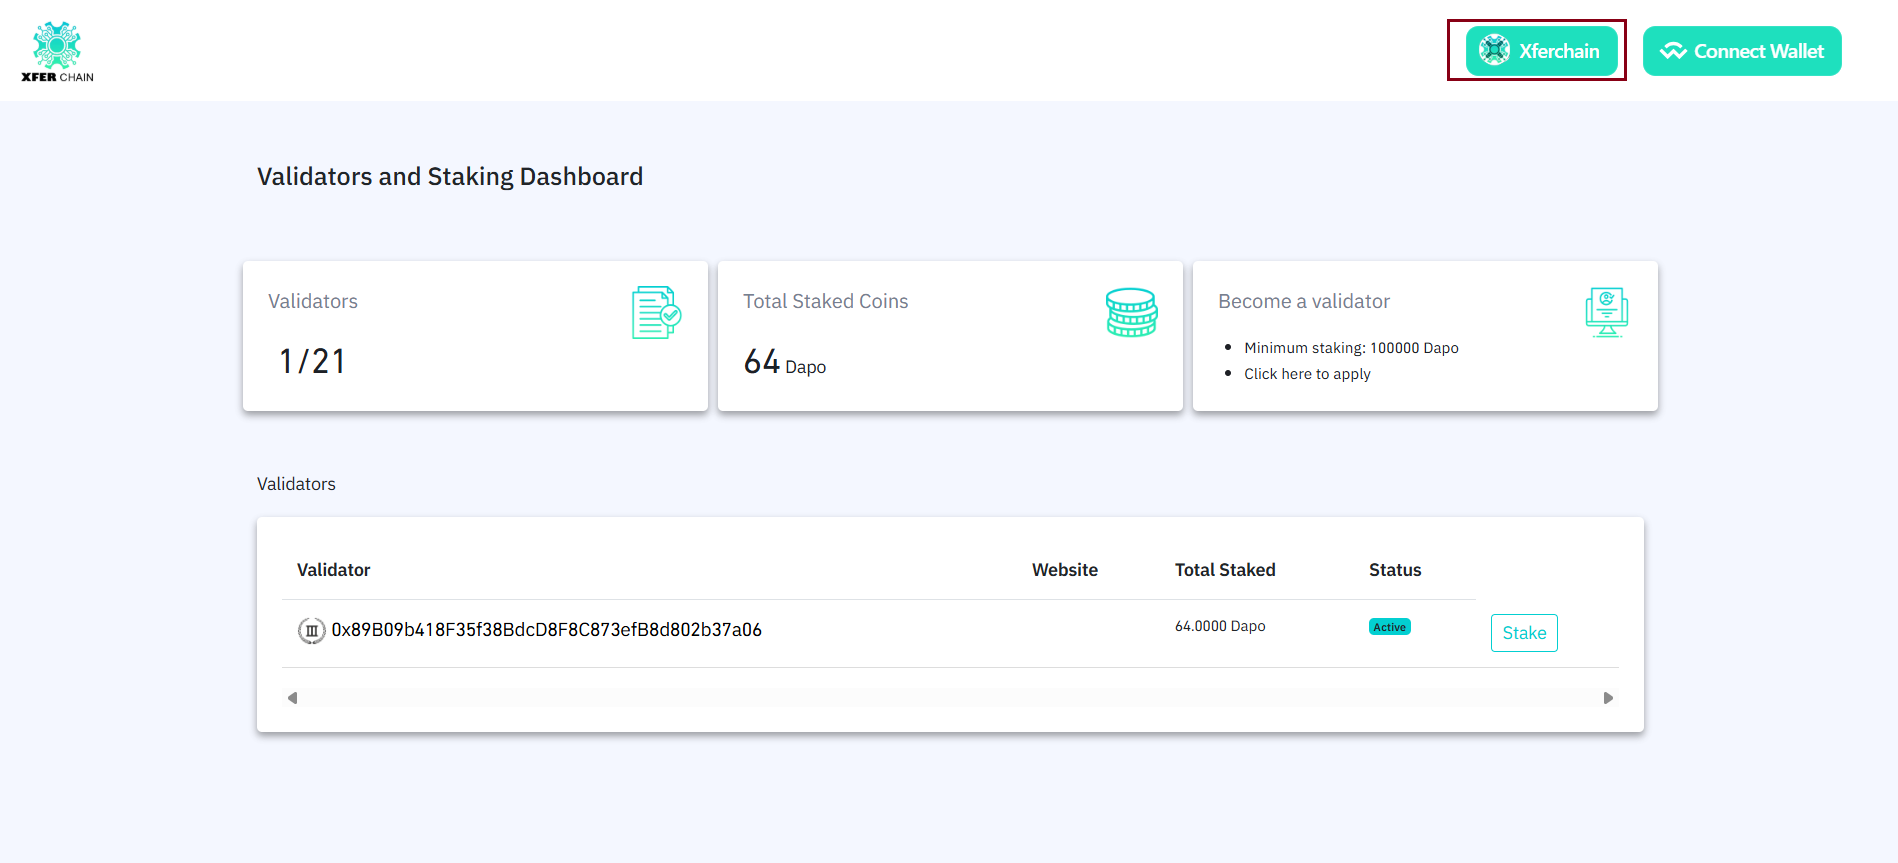
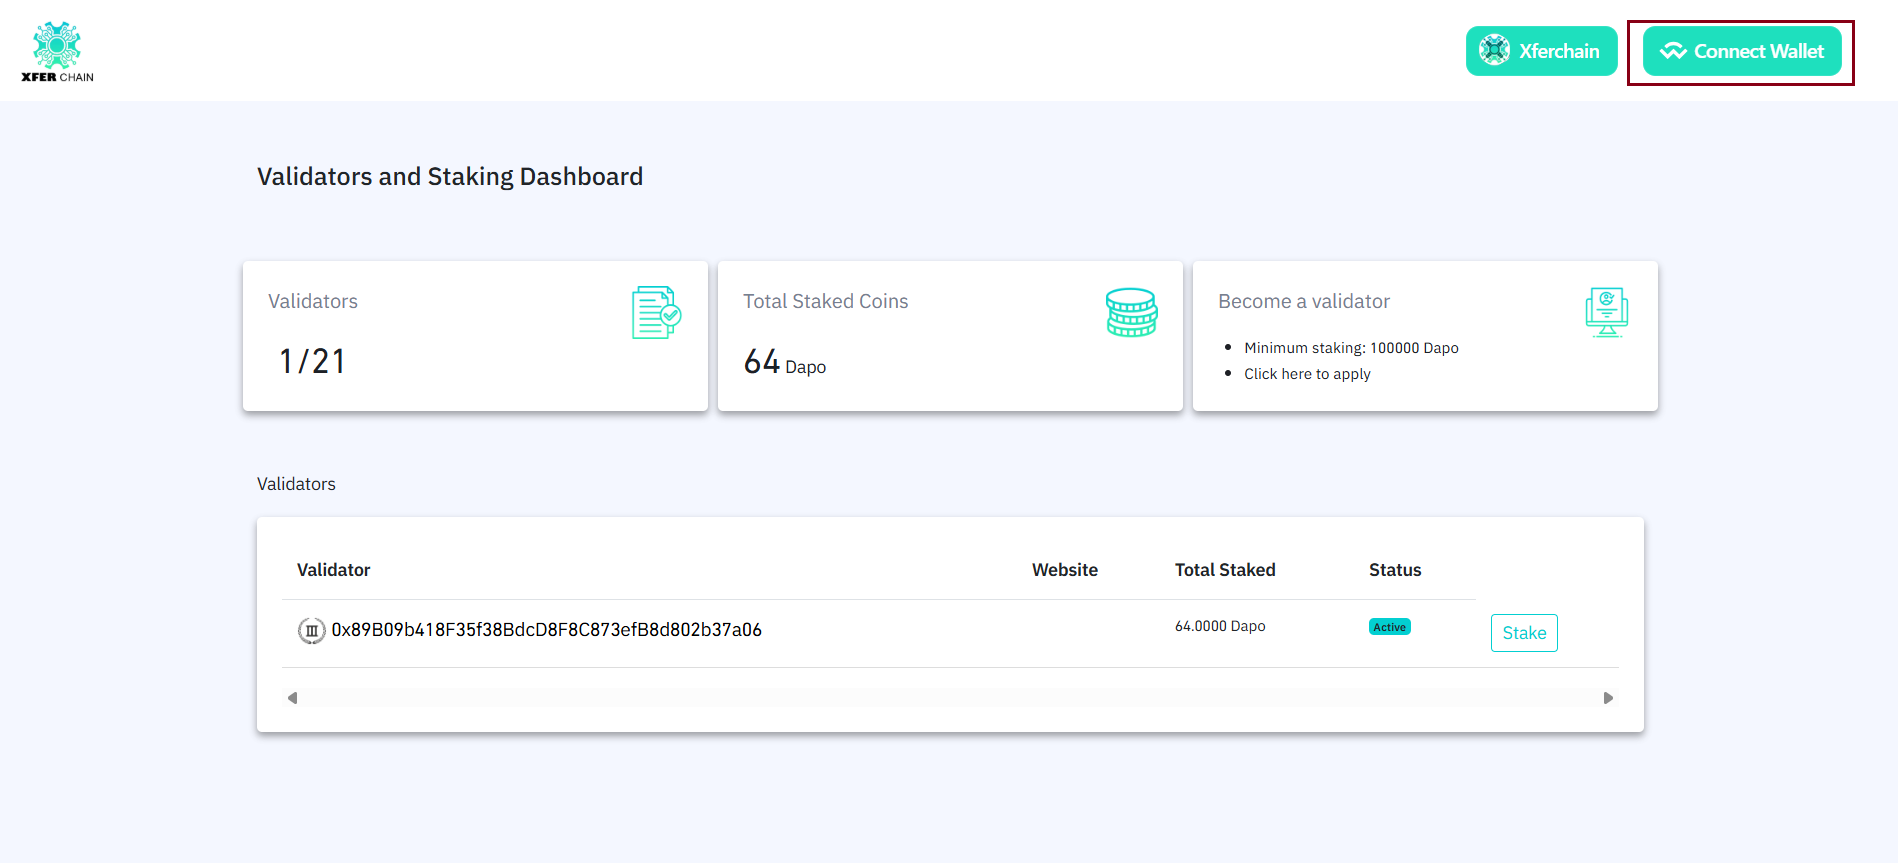
3. If you visit this website for the first time, click the “Xferchain” button to add the network, located at the top right before the Connect Wallet button.
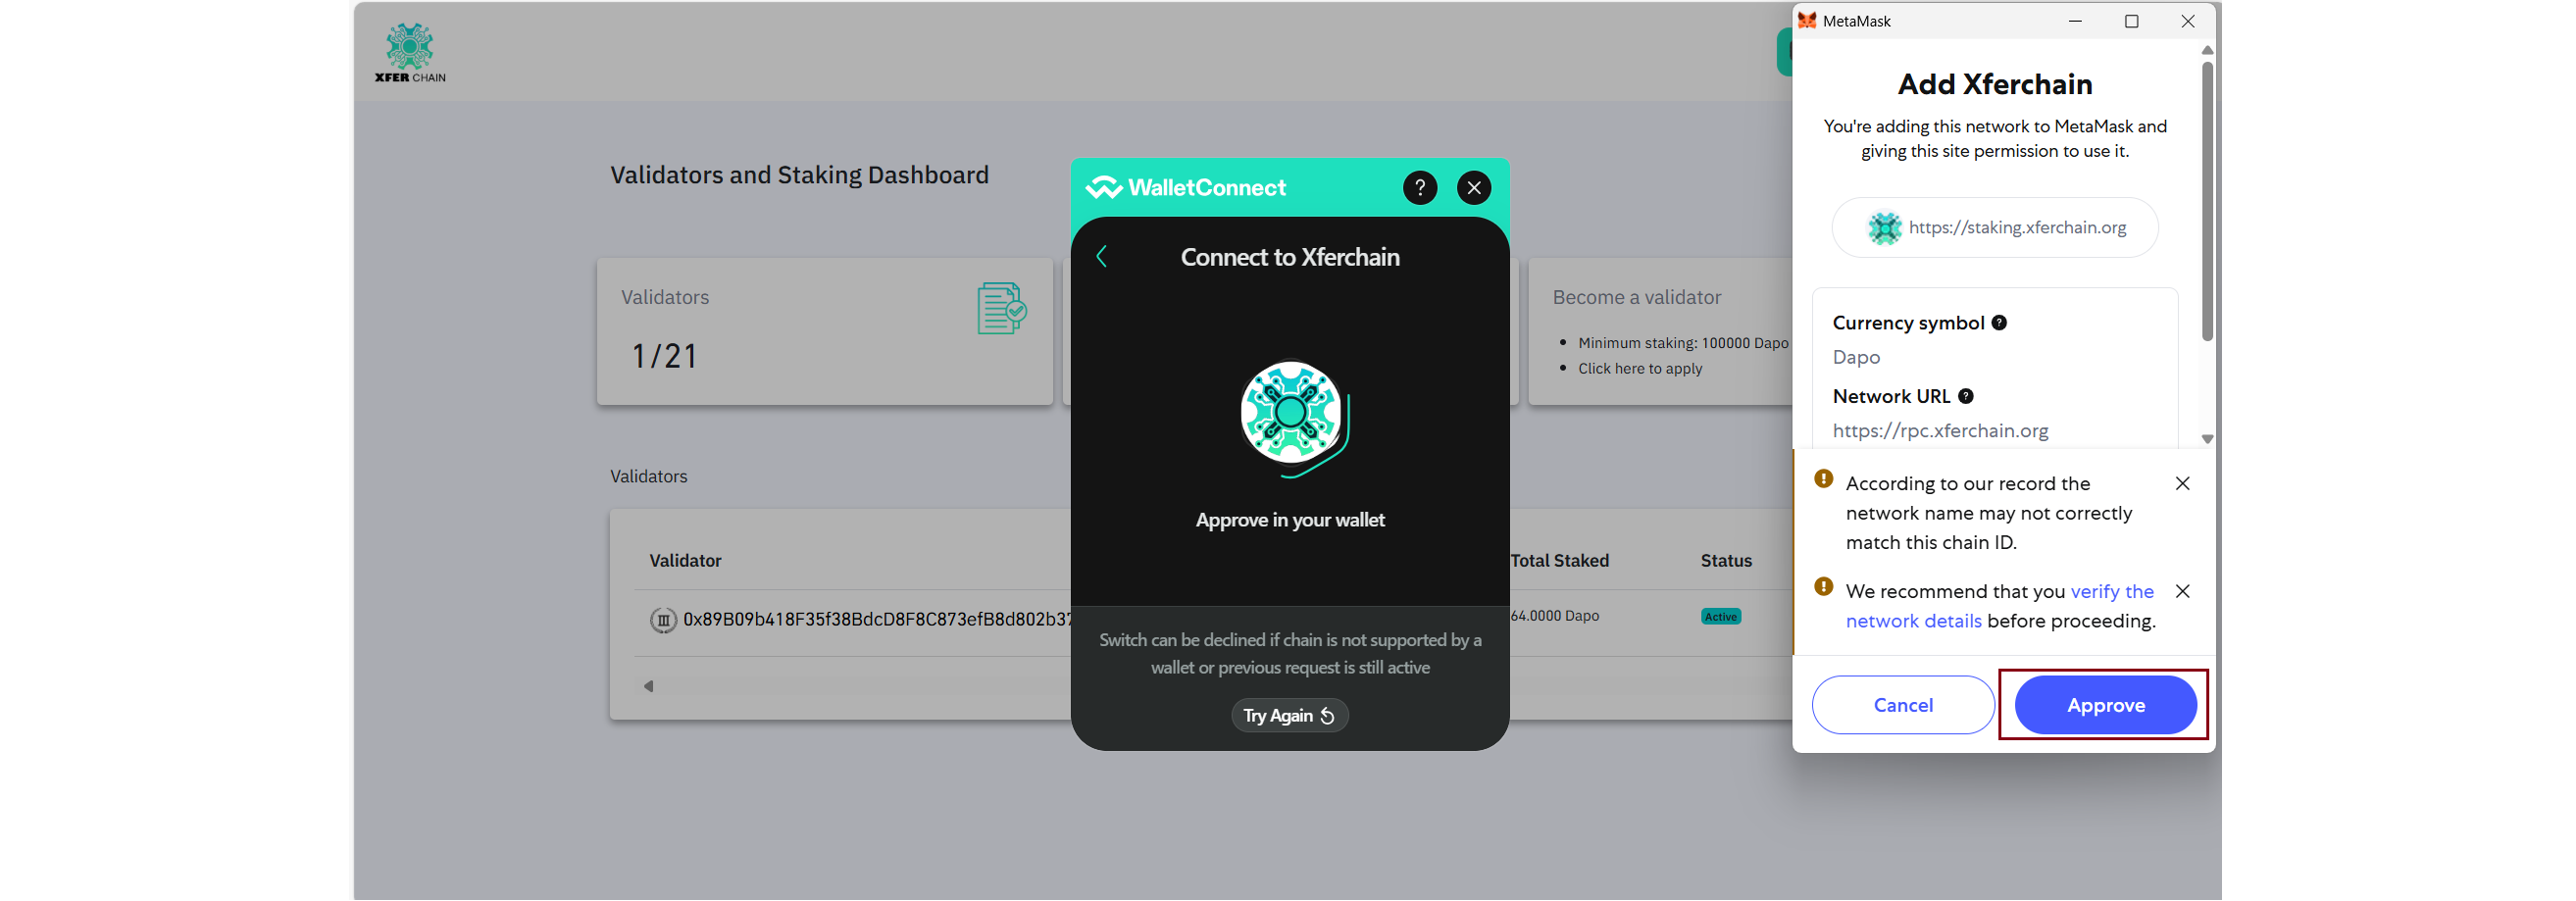
4. Choose your wallet (MetaMask, WalletConnect, etc.) and approve the connection to add the network.
5. Click the “Connect Wallet” button located at the top right most corner.
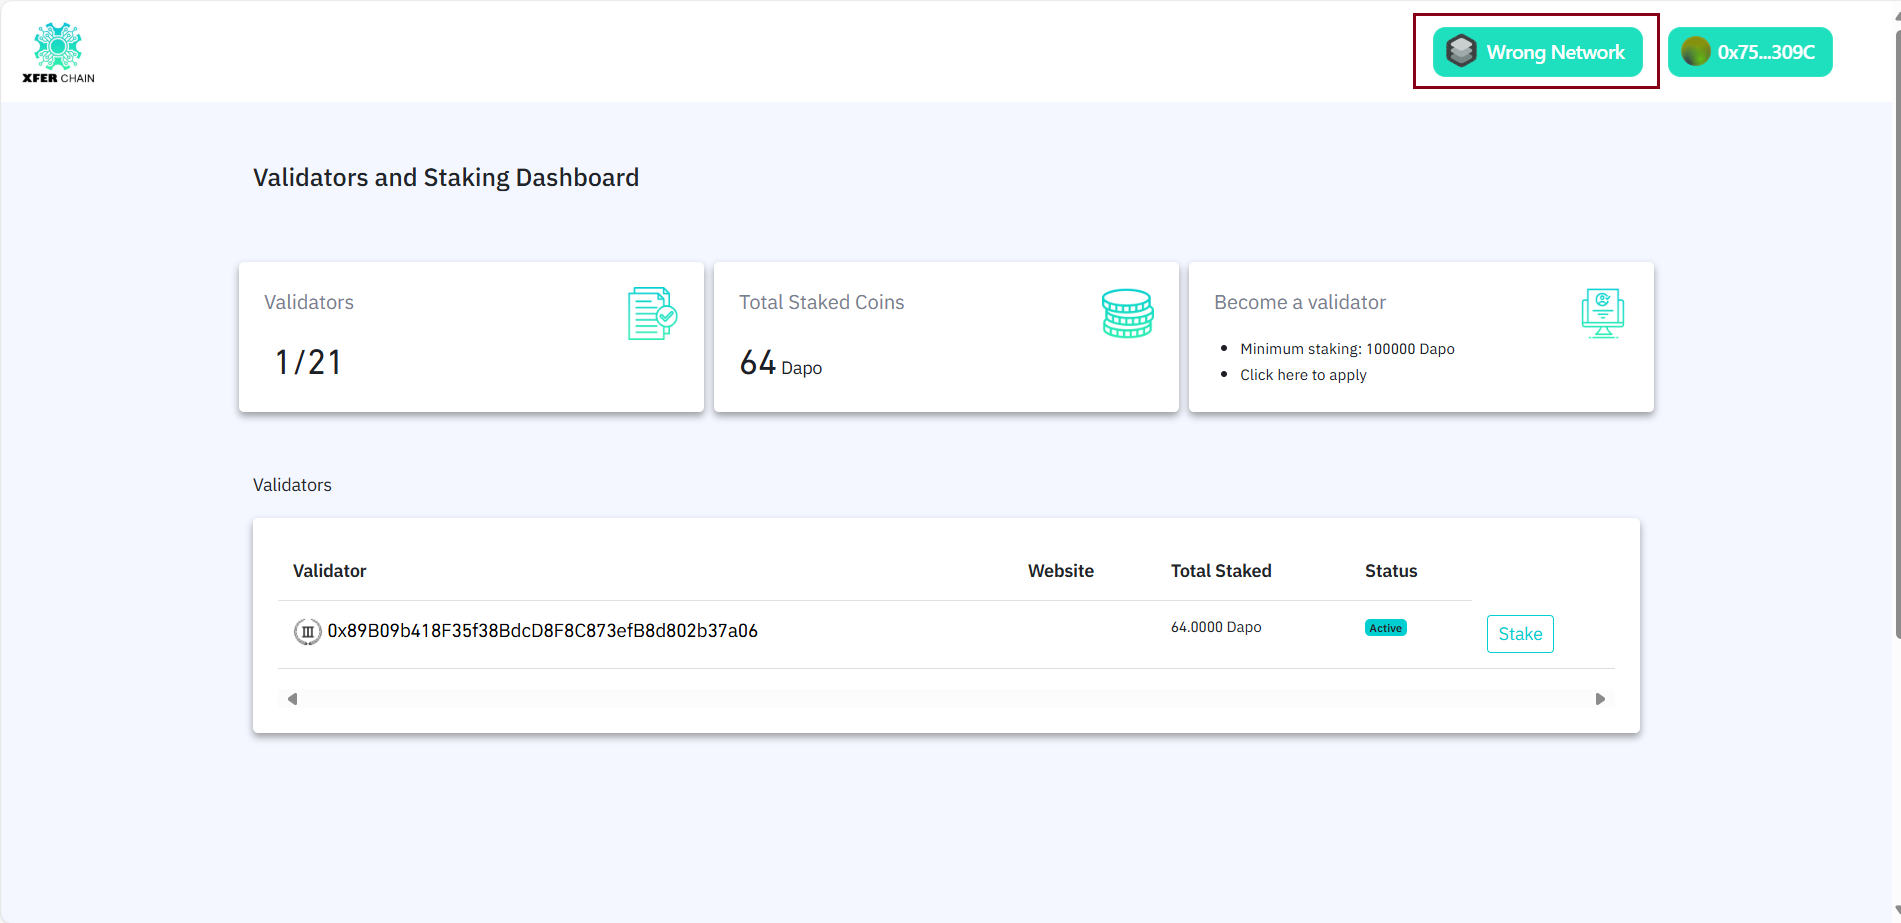
6. If you connect to another network, you’ll see an error like: 'Please connect to Xferchain network.'
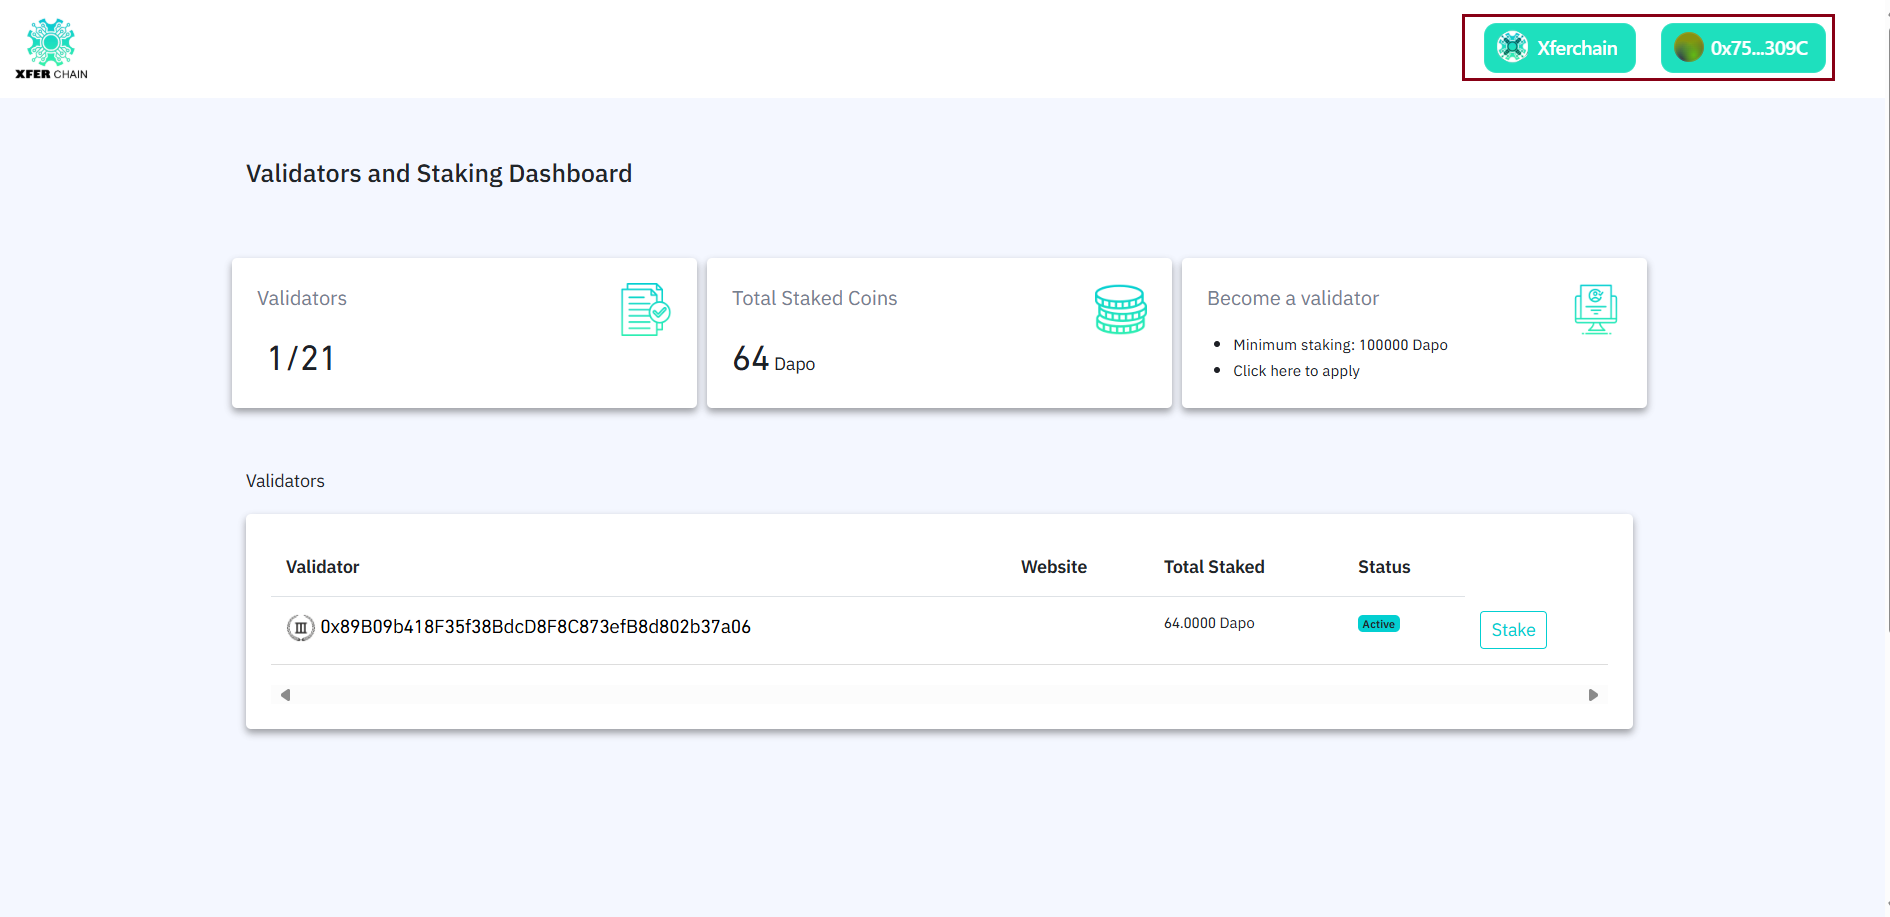
7. Once connected, your wallet address will appear, and you can begin staking.
Check: Your wallet address (e.g., 0x123...) should now appear on the website and Xferchain should appear on the second button. If it doesn’t, refresh the page and try again.
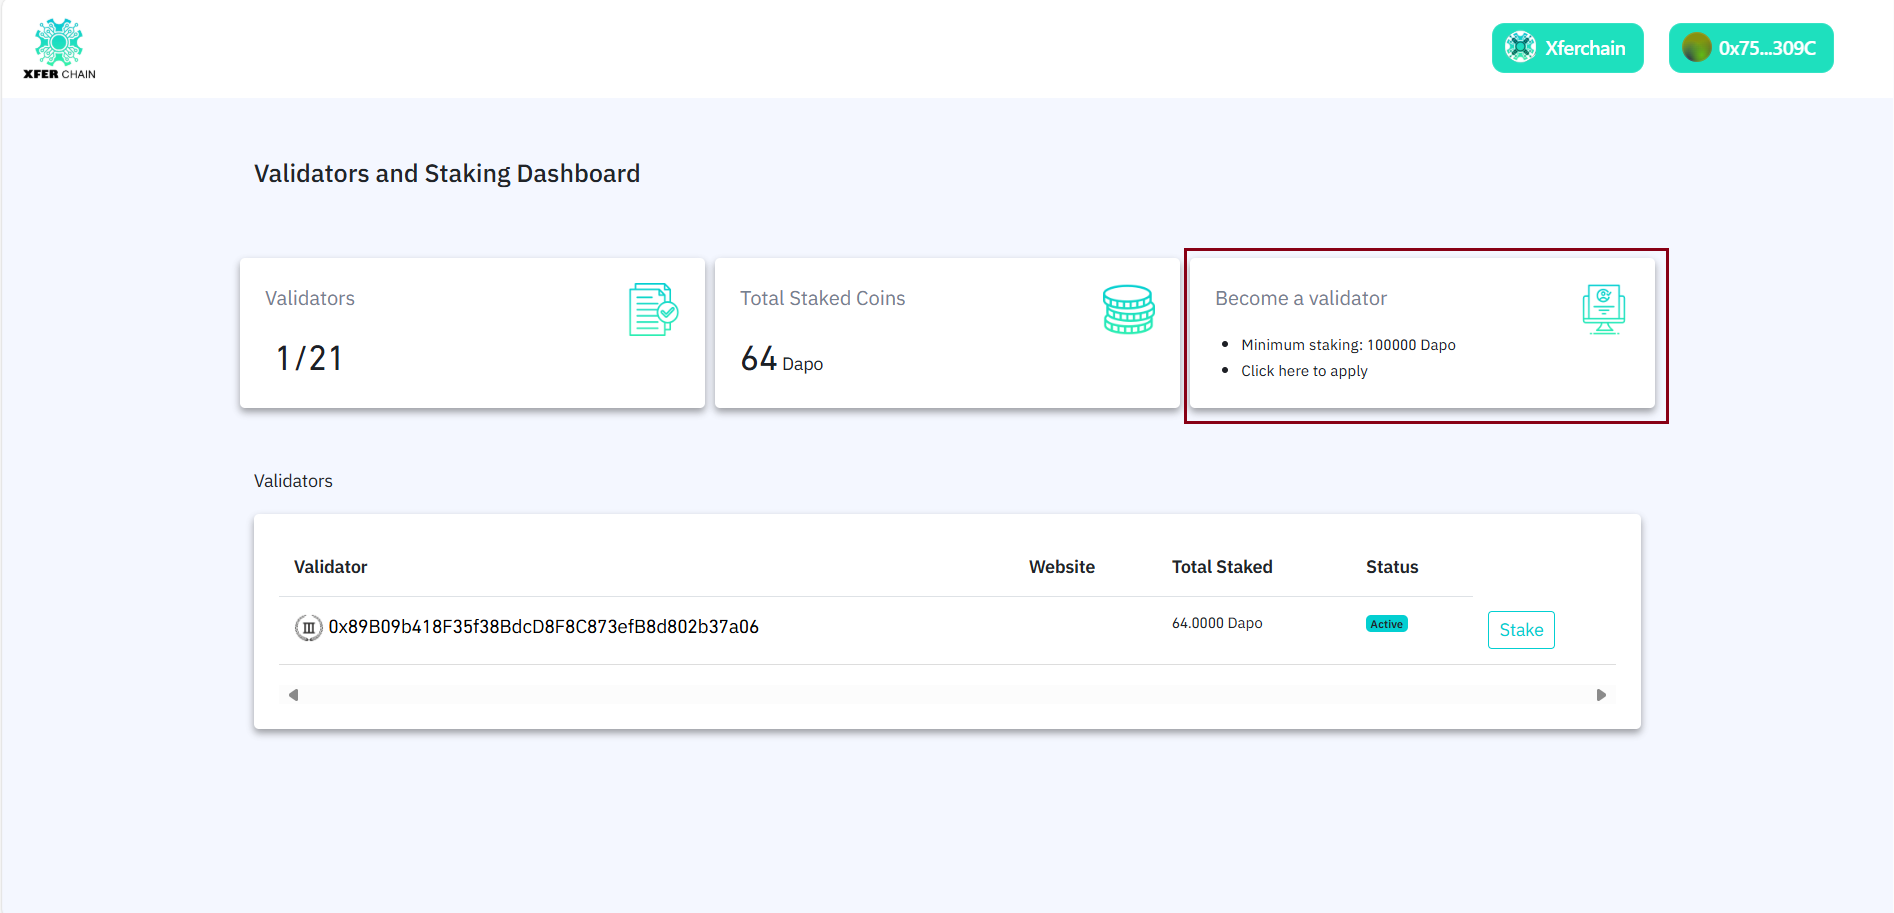
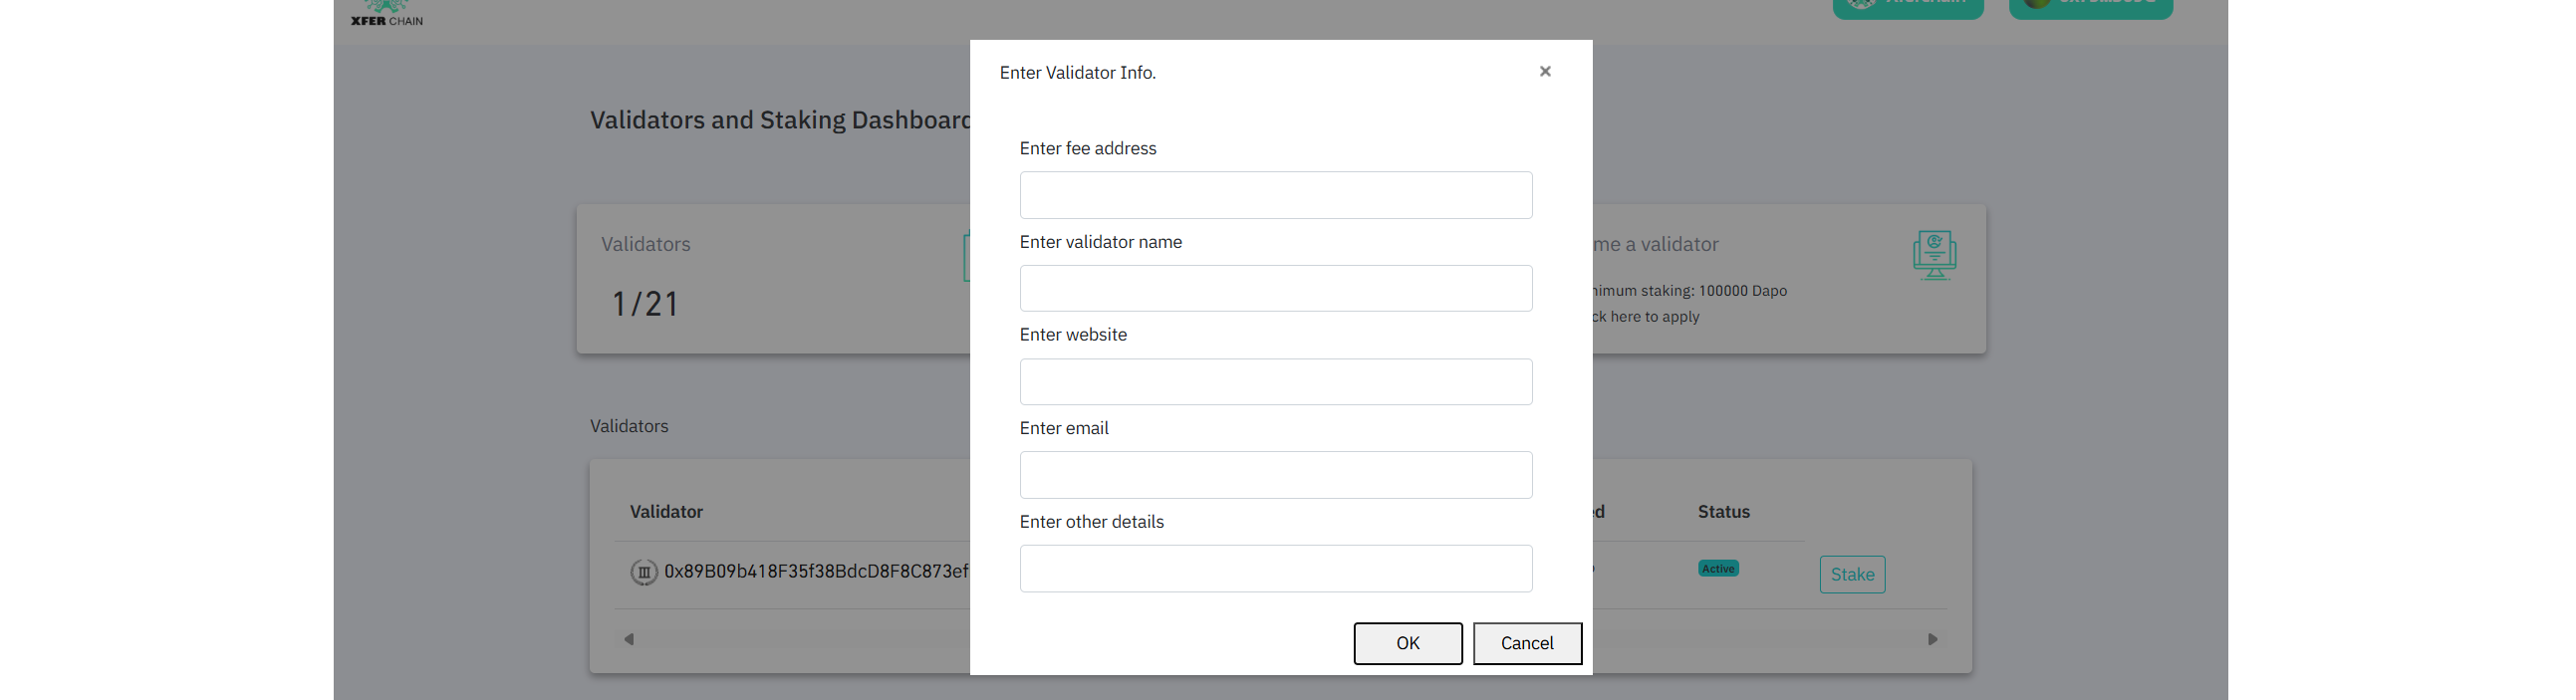
STEP 2: Become a Validator (Optional)
To register as a validator:1. Click “Become Validator” or similar form link on the site.
2. Fill out the validator registration form:
- Validator name
- Logo or ID (if needed)
- Description or website (optional)
Check: The website should show a confirmation that your validator form was submitted. If not, submit the form again.
Step 3: Stake Your Tokens
1. Click the "Stake" button
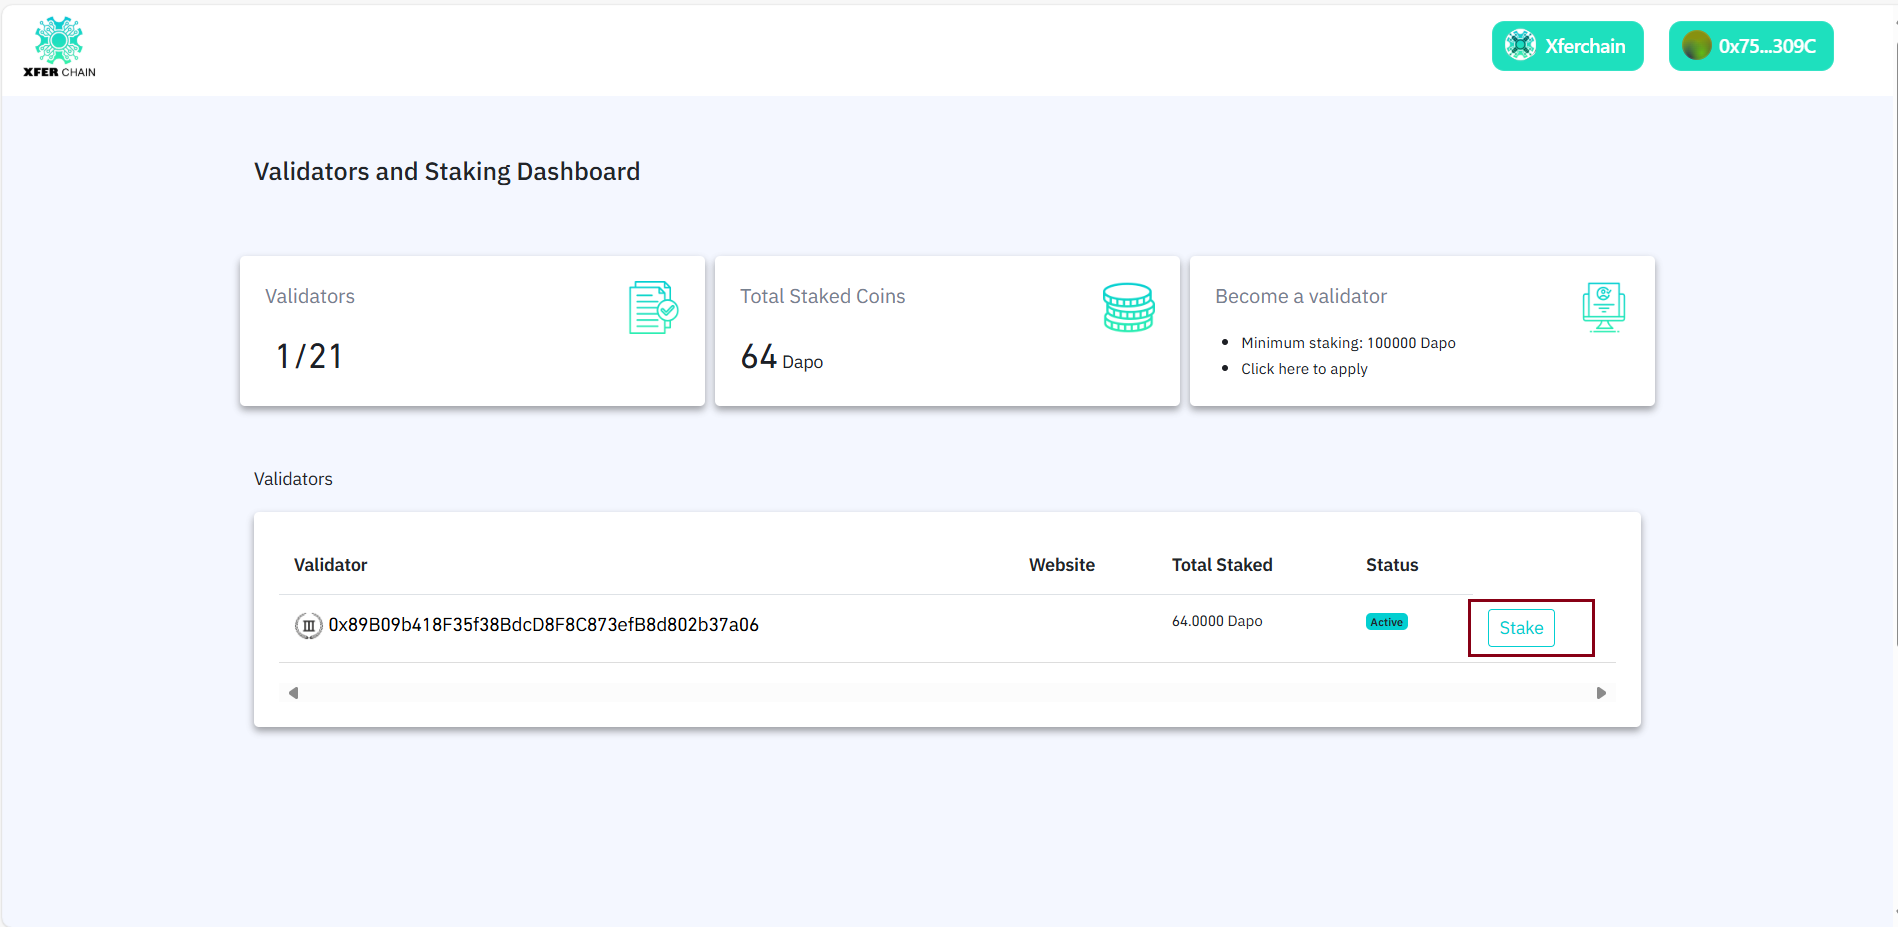
2. Enter the amount of XFER tokens to stake. ⚠️ It must be more than the minimum staking amount (here, more than 32 tokens).
3. Confirm the transaction in MetaMask
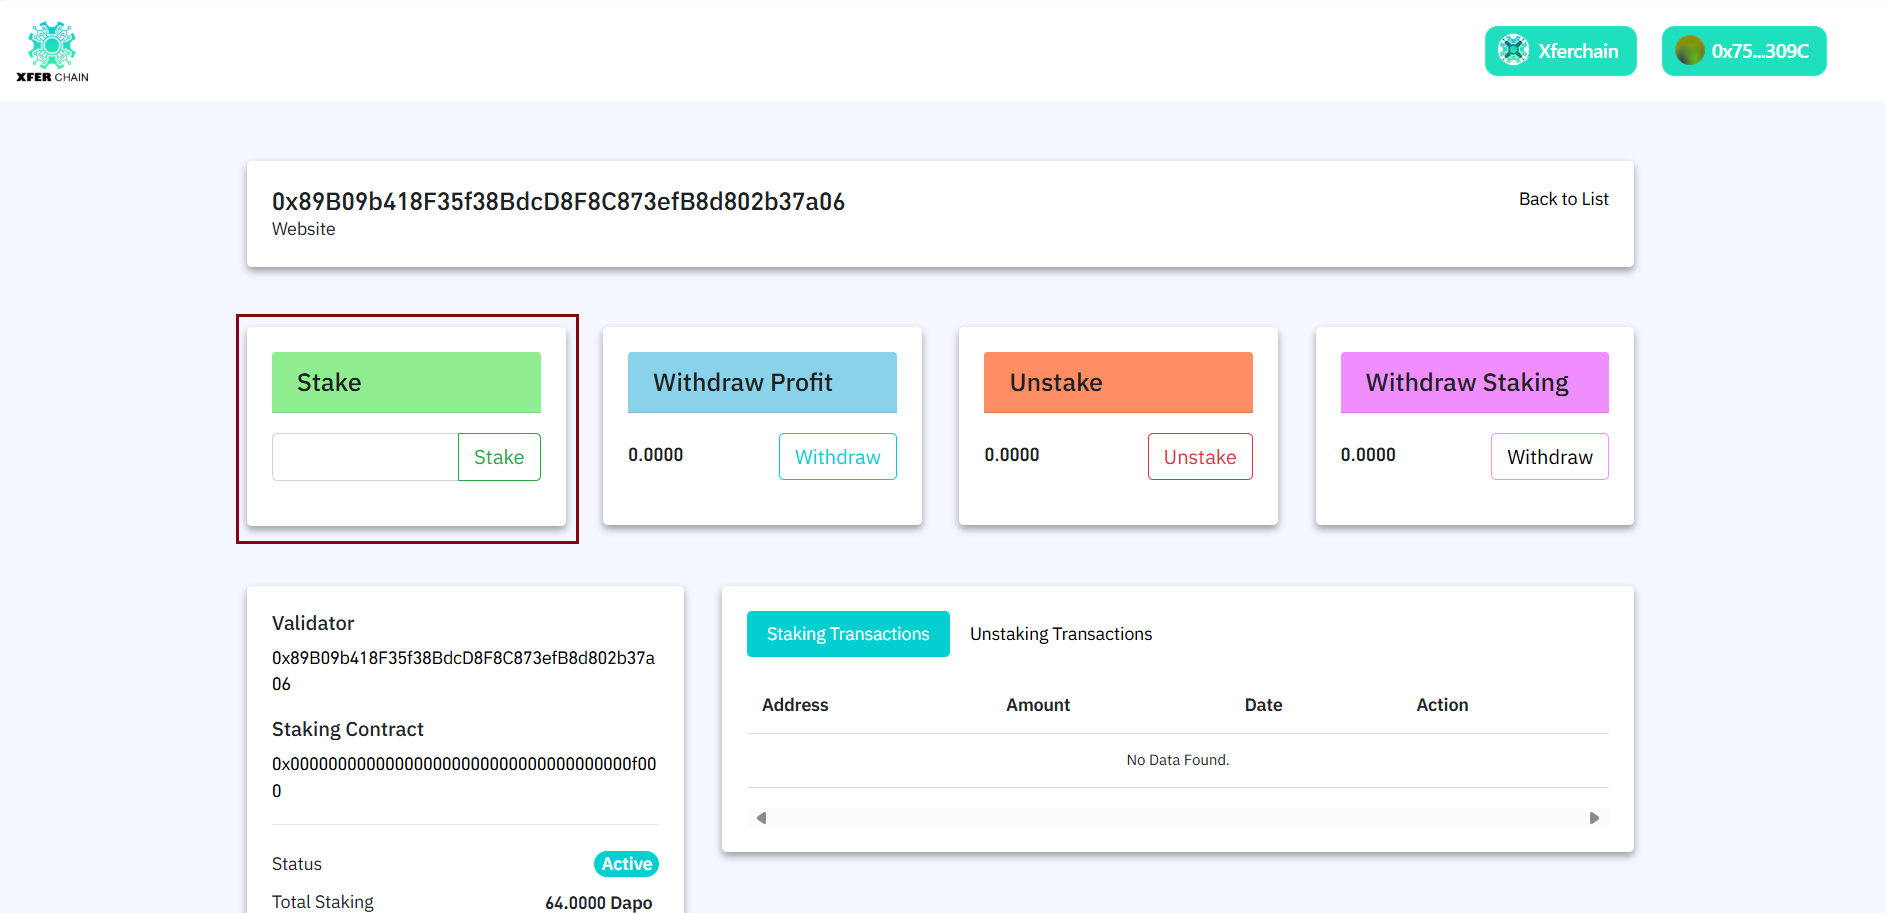
Check: MetaMask should confirm the staking transaction, and the website should show your staked amount. If not, try staking again.
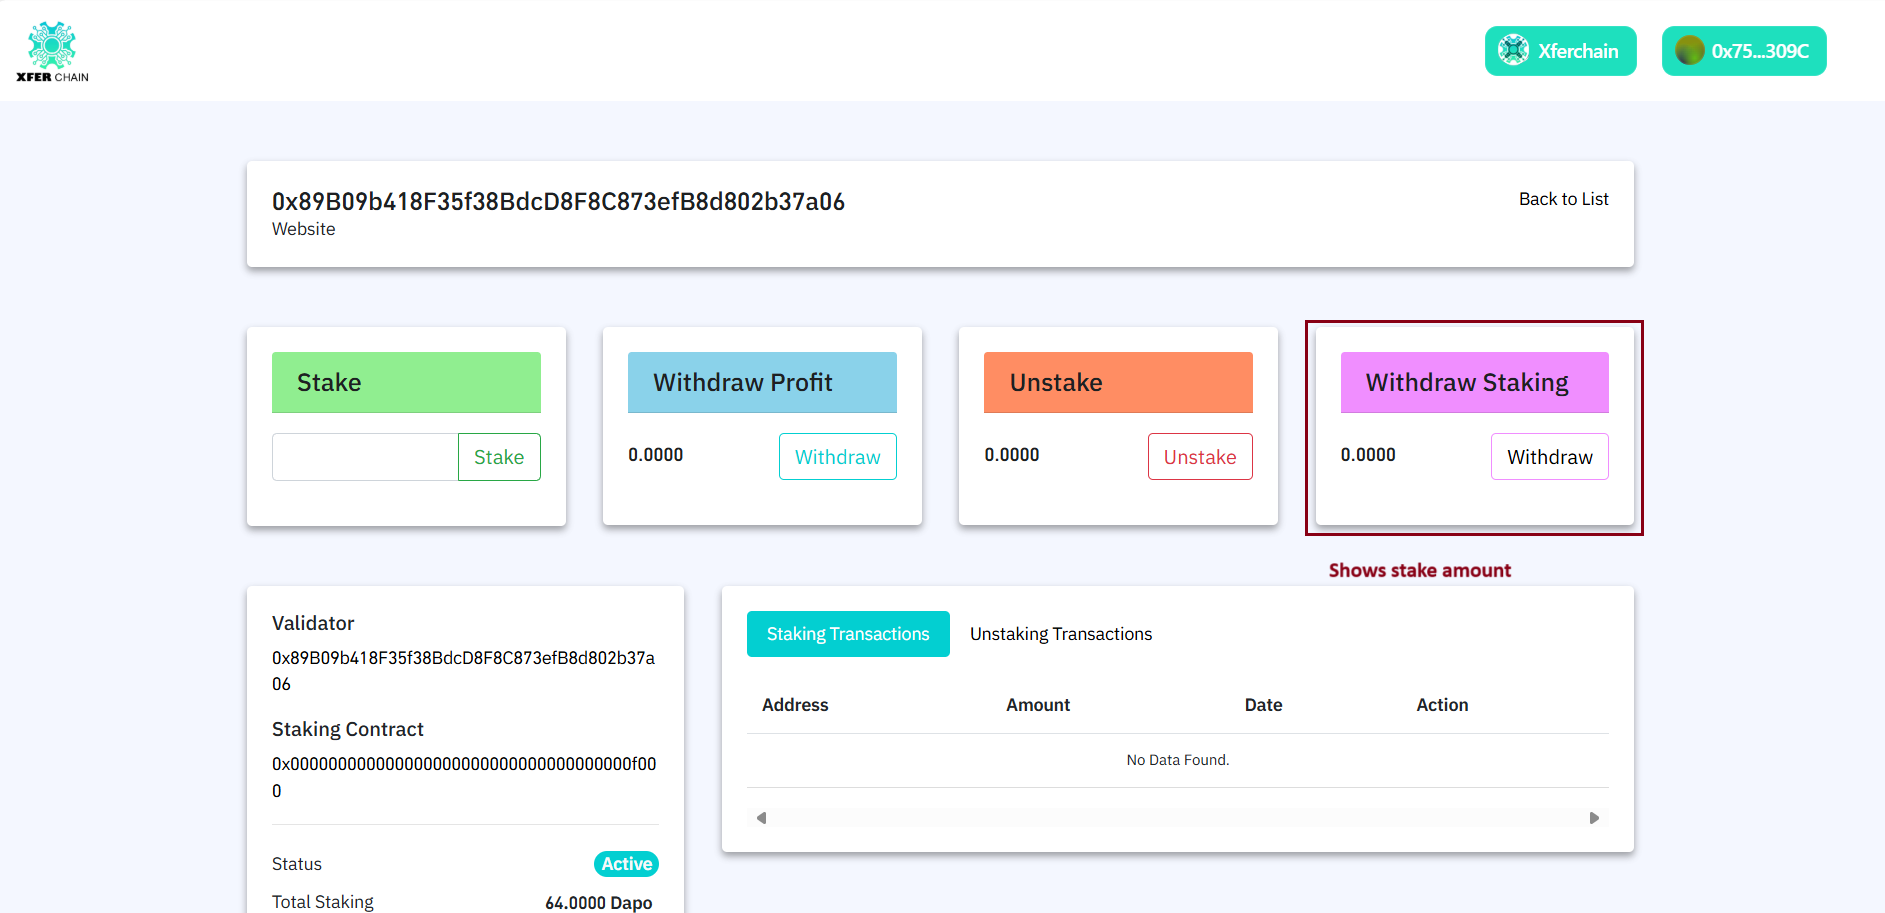
Step 4: View Withdrawable Profit
1. After staking, you'll start earning rewards.
2. Go to the “Withdraw Profit” tab to see your accumulated rewards.
3. You can withdraw profits anytime to your wallet.
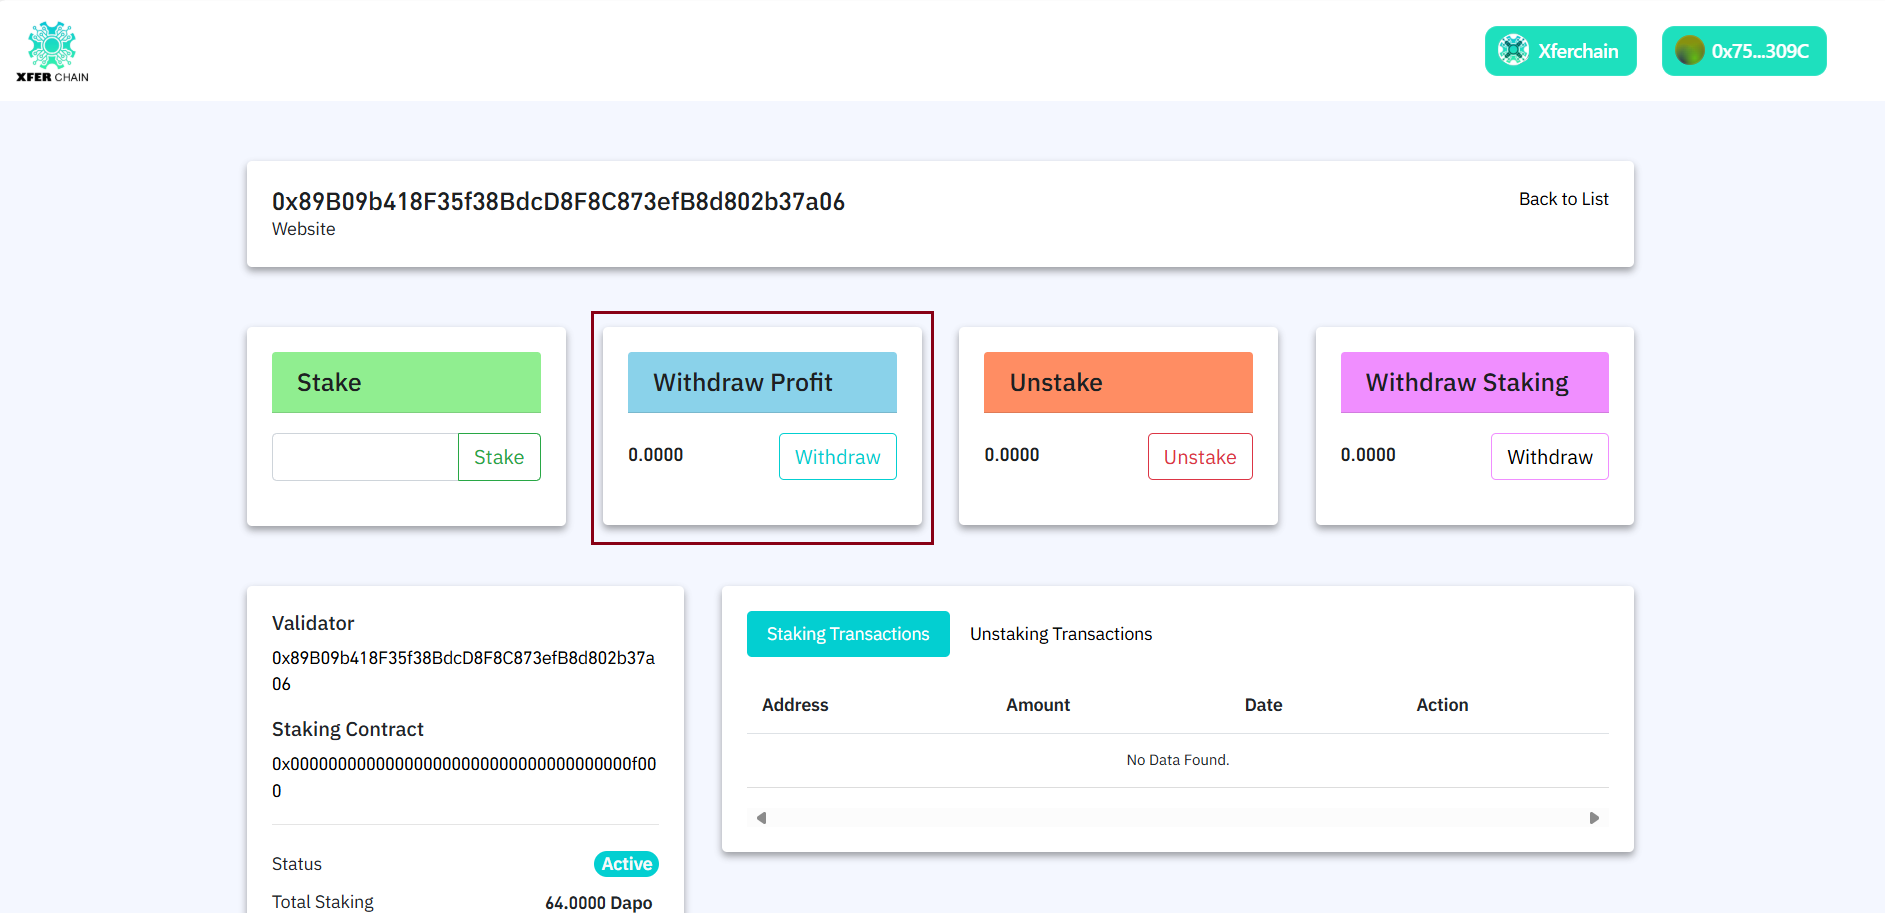
Check: The Withdraw Profit tab should show your earned rewards. If not, wait a bit and refresh the page.
Step 5: Unstake Your Tokens
1. Go to the staking section on the website.
2. Click the "Unstake" button.
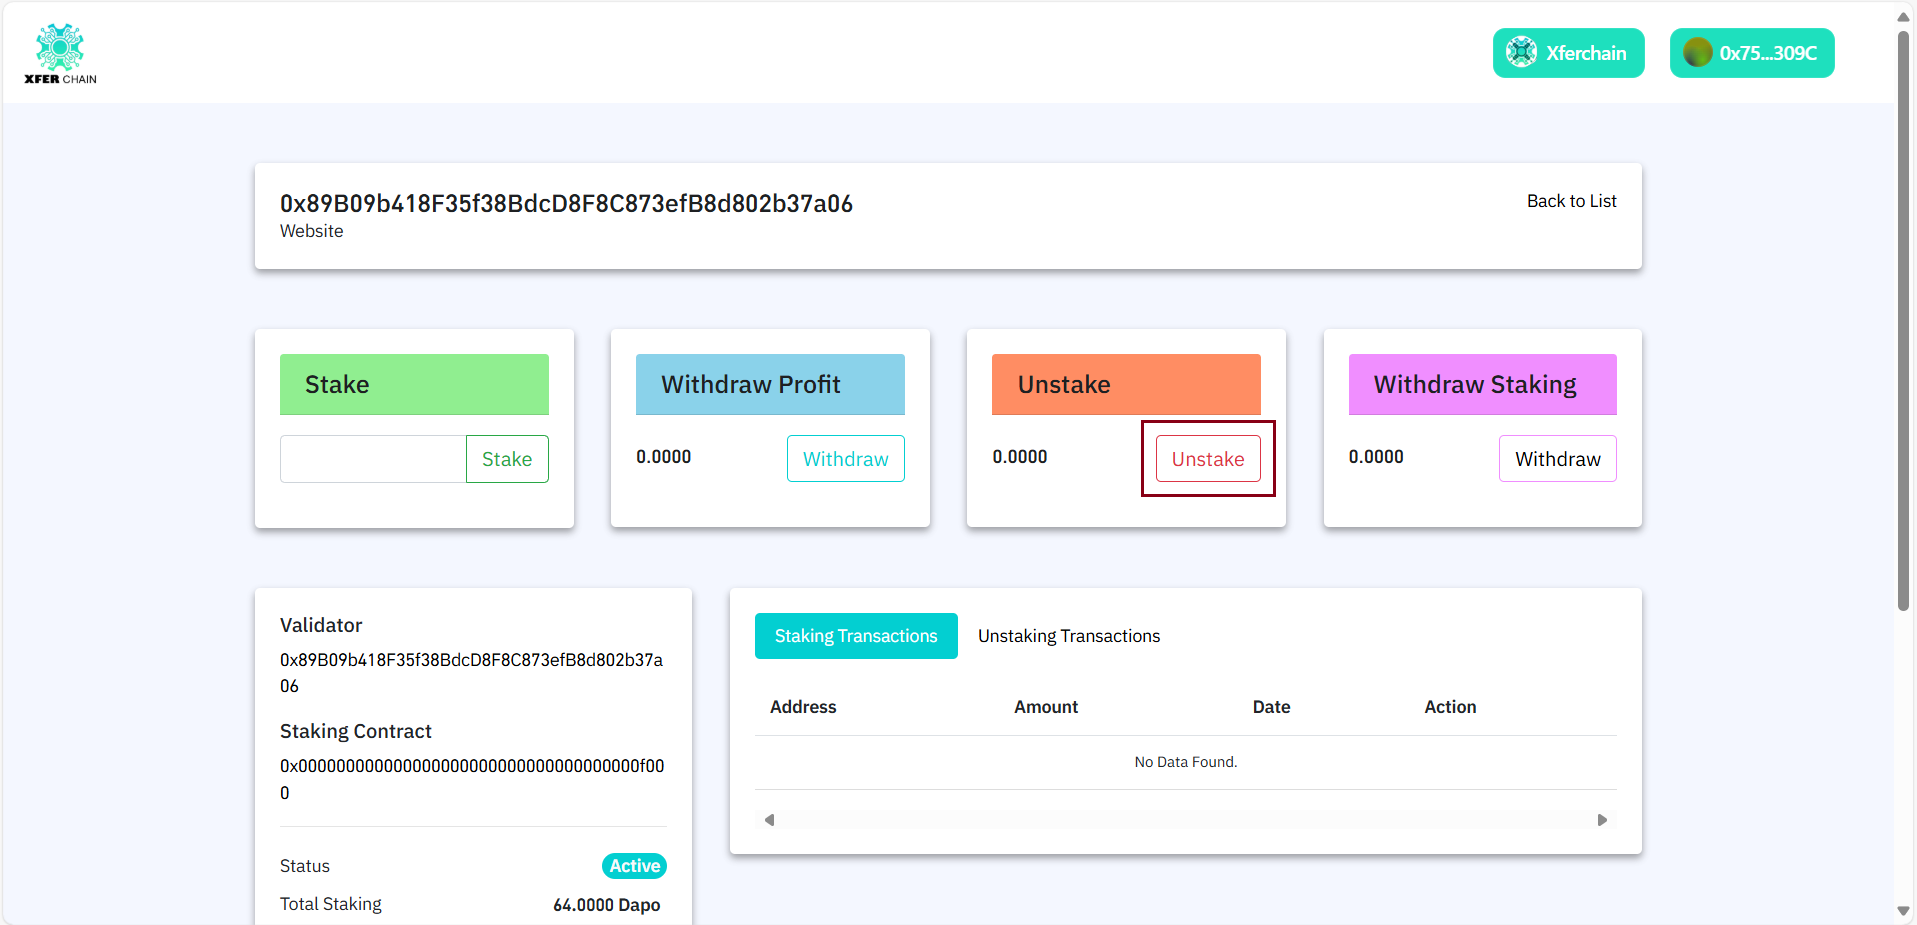
3. Confirm the transaction in MetaMask.
Check: MetaMask should confirm the unstaking transaction. If not, try unstaking again.
Step 6: Wait for Withdraw
1. After unstaking, you need to wait for a cooldown period (like some days).
2. Check the website to see how much time is left.
Step 7: Withdraw Your Tokens
1. After the waiting period is over, go to the withdraw section.
2. Click the "Withdraw" button to get your tokens back.
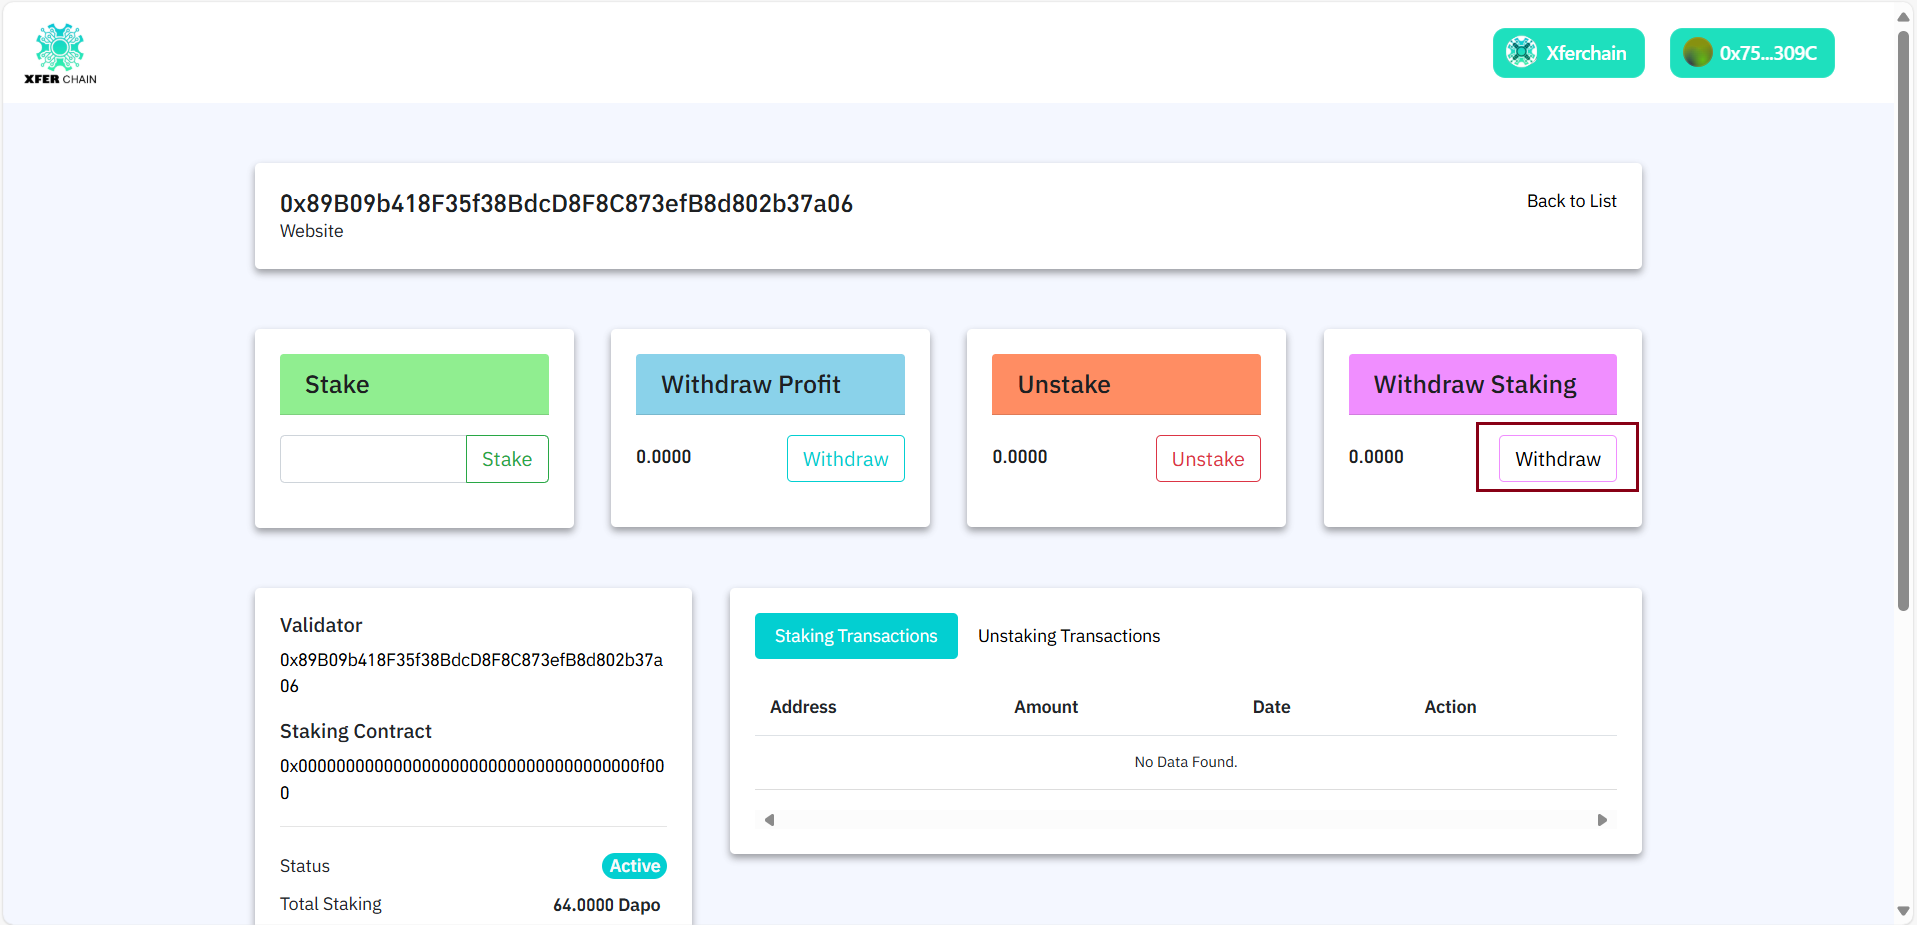
3. Confirm the transaction in MetaMask.
Check: MetaMask should confirm the transaction, and your XFER tokens should show in your wallet. If not, check the website or try again.
Step 8: Restake (Optional)
If you already staked and want to restake:
1. If users unstake their staked amount, they must withdraw the staked tokens and ensure:
- Withdraw amount = 0
- Only then, user can restake
2. When you restake:
- If you have any pending Withdraw Profit, it will be automatically added to your wallet.
- The new stake will start with updated amount + profit, and fresh rewards calculation begins.
Check: The website should confirm your restake, and your new staked amount should include the profit. If not, try restaking again.
Summary of Features
| Feature | Description |
|---|---|
| Stake | Lock XFER tokens to earn profit |
| Withdraw Profit | See and claim staking earnings anytime |
| Restake | Requires previous unstake + withdraw; profit auto-added to new stake |
| Become Validator | Optional, for node operators following GitHub guide |